




Comment broder Raised satin stitch
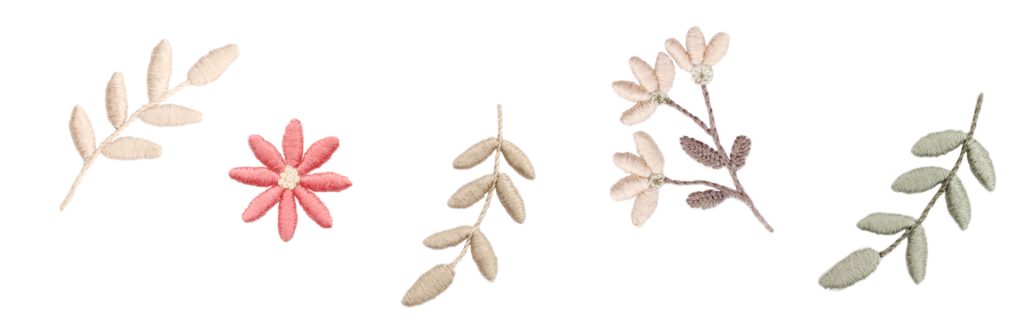
Tutoriels de points de broderie > Tous les points > Raised satin stitch
The Raised satin stitch, step by step

We guide you here, step by step, to embroider the Raised satin stitch.
The raised satin stitch is worked in two stages: a padding of stem stitches that fills and structures the shape, followed by a covering of close, even straight stitches to achieve a smooth, dense and slightly raised surface.
1 – Define the outline
Work a stem stitch around the entire outline of the shape to mark its limits clearly. These stitches must be small and precise, as they determine the sharpness of the motif and will serve as a guide during the covering stage.
2 – Create the padding
Fill the entire surface with rows of stem stitches. These stitches can be longer than those of the outline. The aim is to cover the surface completely so that no fabric shows through. These rows form the foundation and give the stitch its volume.
3 – Build up the relief
Depending on the area to be covered and the desired relief, work one or two additional rows of stem stitch along the central line. Work without piercing the fabric, hooking onto the previous rows of stem stitch. This additional padding adds volume while preventing the embroidery from becoming too stiff.
4 – Cover with satin stitch
Begin working straight stitches from the tip of the motif. The stitches must be close together, parallel, always perpendicular to the design and must not overlap. As a general rule, insert the needle into the concave part of the shape and bring it up on the convex side. To achieve clean edges, insert the needle under the outline stem stitch with a slight tilt, then bring it up on the other side as close to the edge as possible. Cover the padding entirely.
5 – Finish the stitch
Pass the thread to the wrong side and fasten it under the stitches already worked. ___________
FOR RIGHT-HANDED EMBROIDERERS: Work progressing evenly from one side of the shape to the other.
FOR LEFT-HANDED EMBROIDERERS: Work in mirror image, following the same principle. Tips for a successful raised satin stitch

Tips for a perfect raised satin stitch
Precision of the outline: An outline stem stitch that is too large will create uneven edges that cannot be corrected at the satin stitch stage — it is worth taking the time to work it carefully from the start.
Thickness of the padding: The more rows of padding added along the central line, the more pronounced the relief — adjust according to the desired effect and the size of the motif.
Direction of the gesture: In whitework, working from the concave part towards the convex part is a fundamental rule — it applies to all shapes, even the most complex ones.
Regularity of the satin stitch: The length of the satin stitches must adapt to the width of the shape — the narrower the shape, the shorter the stitches. This ensures even coverage without tension or distortion.
Needle angle: For very narrow or pointed shapes, tilt the needle further to avoid overstepping the outline.
Result
On the front: a smooth, dense and slightly raised surface with clean edges.
On the back: even stitches following the shape of the motif.
EXPLORE FURTHER

The Raised satin stitch, an essential stitch for learning hand embroidery
The raised satin stitch is an emblematic stitch of whitework embroidery, used to create relief and structure floral motifs, monograms and decorative elements.
Its two-stage construction — padding then covering — produces a dense, smooth and slightly raised finish in traditional embroidery.
The amount of padding determines the intensity of the final relief.

The raised satin stitch: a raised filling technique based on a padding covered with straight stitches.
Its construction makes it possible to control both the volume and the sharpness of the edges.
This architecture produces a structured, precise surface that can be adjusted according to the thickness of the padding and the shape of the motif.
It is one of the fundamental stitches in hand embroidery for understanding how to work with volume in whitework.
DISCOVER OTHER STITCHES

Why learn the Raised satin stitch?
• understand the two-stage construction of a raised stitch — padding then covering
• develop precision of outline and regularity of satin stitch
• learn to dose the padding to adjust the intensity of the relief
• access a fundamental technique of traditional whitework embroidery
Learn the Raised satin stitch with Un Chat dans l’Aiguille
At Un Chat dans l’Aiguille, the raised satin stitch is taught step by step with clear, structured guidance.
Our approach to teaching is part of a complete hand embroidery stitch encyclopaedia, designed to support every embroiderer on their journey.
It allows you to progress at your own pace whilst building precision, consistency, and confidence in hand embroidery.